
Compressing folders on an iPad is a simple and effective way to optimize storage, streamline file sharing, and keep your digital workspace organized.
When you compress a folder, you’re essentially packaging multiple files into a single, easy-to-manage archive. While this process sometimes reduces file size, especially for documents and uncompressed formats, files like JPEG images or MP4 videos might not shrink much further since they’re already compressed. Still, bundling files together offers clear organizational and sharing benefits.
Why compress folders on an iPad
Compressing folders helps in two major ways:
- Organizing files: Instead of sorting through numerous documents and media, you can bundle related files together
for cleaner storage. - Sharing efficiently: Sending one zipped folder is faster and simpler than transferring multiple files
individually.
Even when you don’t gain a substantial size reduction, compression minimizes digital clutter and makes handling files far more convenient.
How to compress folders on an iPad
- Open the Files app.
- Navigate to the folder you want to compress from the Browse tab.
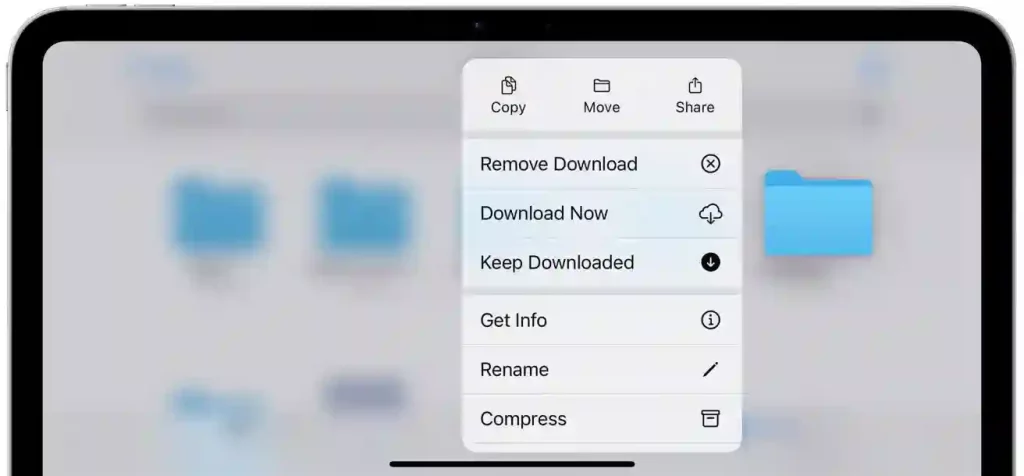
- Press and hold the folder until a context menu appears.
- Select Compress.
- A new ZIP file will appear in the same location as the original folder.
If you ever receive a ZIP file, decompressing it is just as straightforward. Simply tap the ZIP file in the Files app, and your iPad will automatically extract its contents into a new folder.
Final thoughts
Once compressed, your files become easier to manage, share, and store. Whether you’re organizing large projects, archiving documents, or transferring media files, compression is a quick and practical tool for boosting productivity and keeping your iPad neat and efficient.


